While I have many fond memories of my 4th and 5th grade teacher Mrs. Williams, her annual tessellation project was a standout. What’s a tessellation? It’s a combination of math and art, probably made most famous by MC Escher. A shape repeats itself over-and-over across the canvas.
Tessellation Project Supplies
What’s so great about this mathy art project is its simplicity. You only need:
- an index card
- masking tape
- a marker
- a larger piece of paper
- whatever coloring supplies you’d like – even crayons are fine!
Step 1: The Cutting
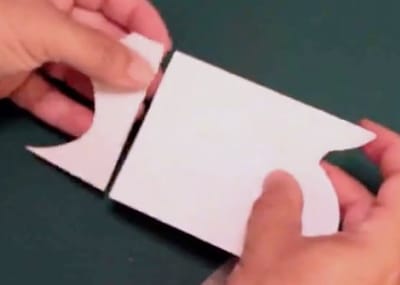
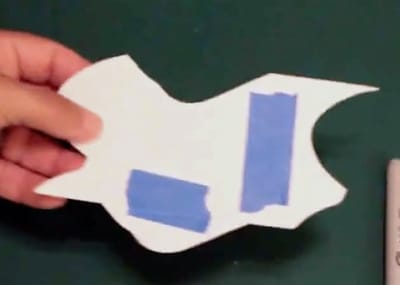
To start their tessellation project, students create what is basically a puzzle piece. They make two cuts and then tape those cuts back onto the notecard.
- Students cut out a bit from the left side of the index card.
- They tape that bit onto the right side.
- The card will now fit into itself (or tessellate) left to right.
- Now, students cut out a bit from the top and tape it to the bottom of the index card.
- The shape will now tessellate up and down as well as left to right.
Step 2: The Tracing
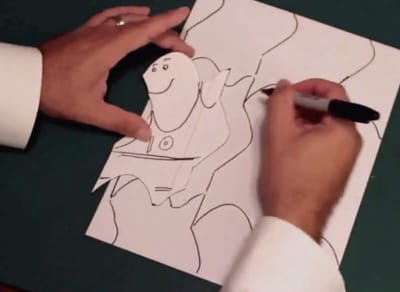
Students will now trace that puzzle piece over and over, fitting it into itself. I like to angle the paper so the piece moves diagonally across the page.
Step 3: The Decorating
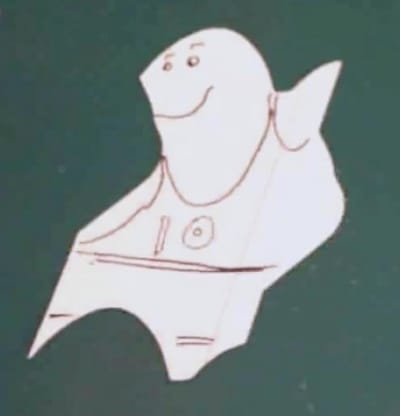
Once the page is filled with outlines of that tessellating shape, students will begin to decorate. Often, the shape looks like an animal or a person. Kids can fill in the face or the wings or the fur or whatever details they’d like. If they see multiple designs, they can create a pattern or otherwise make their tessellation project more complex.
Give them some Escher exemplars and let your most clever artists go wild:
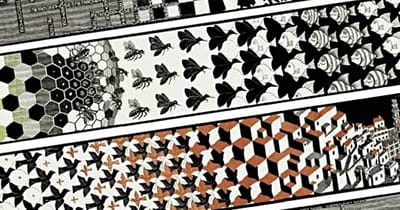
M.C. Escher’s Metamorphosis II
